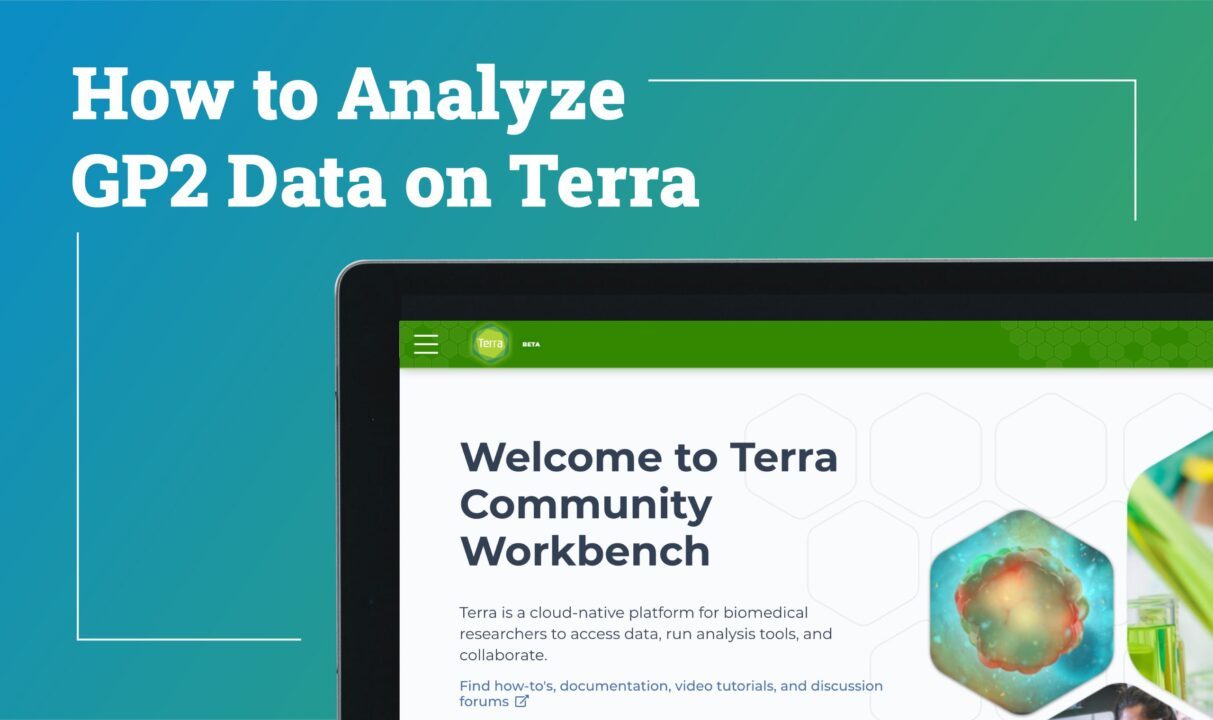
The data generated by both the Global Parkinson’s Genetics Program (GP2) and the Accelerating Medicines Partnership in Parkinson’s Disease (AMP® PD) are hosted on Terra, a cloud platform for bioinformatics developed by the Broad Institute in collaboration with Microsoft and Verily. Terra allows you to do analysis directly on the cloud, removing the need to download data to your personal computer. This allows us to adhere to high data protection and privacy standards and facilitates open science and reproducibility through structured shareable code and results.
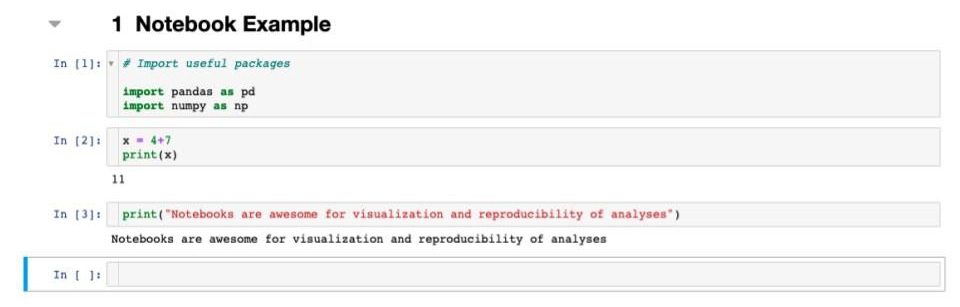
Terra supports two types of analysis: Jupyter notebooks and WDL workflows. Notebooks are documents broken down into cells containing code snippets that allow you to run an analysis sequentially. Notebooks support a number of languages including Python, are useful for a range of analyses, and are great for visualizations and documentation. Eventually, you may find that you need more computing power or a longer run time for your analyses than a notebook can provide. In this case, you can use a Terra workflow instead. These are built using the WDL (pronounced “widdle”) language and are submitted just like batch jobs on any cloud server. Workflows are useful for high-power analyses such as alignment or GWAS with large sample sizes.
Example Notebook Structure
Example WDL Structure
![A screenshot of a coding interface for a workflow titled "print-my-name." The script displayed is a simple example that defines a workflow called PrintName and a task called hello, which takes a first and last name as input and prints "Hello [first name] [last name]!"](https://gp2.org/wp-content/uploads/2022/09/03-1.jpeg)
When you get access to GP2 data, you also get access to the official GP2 Terra workspaces. Both the Tier 1 and Tier 2 workspaces will have the README file for the most recent GP2 data release. We highly recommend reading this as it provides explanations for all the files present in each release. Keep checking these workspaces often as more code resources, notebooks, and workflows related to GP2 data will be hosted there as they are developed.
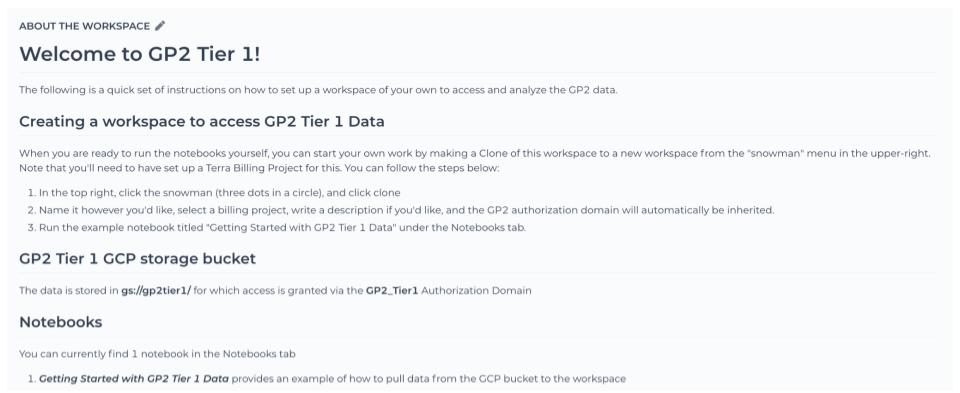
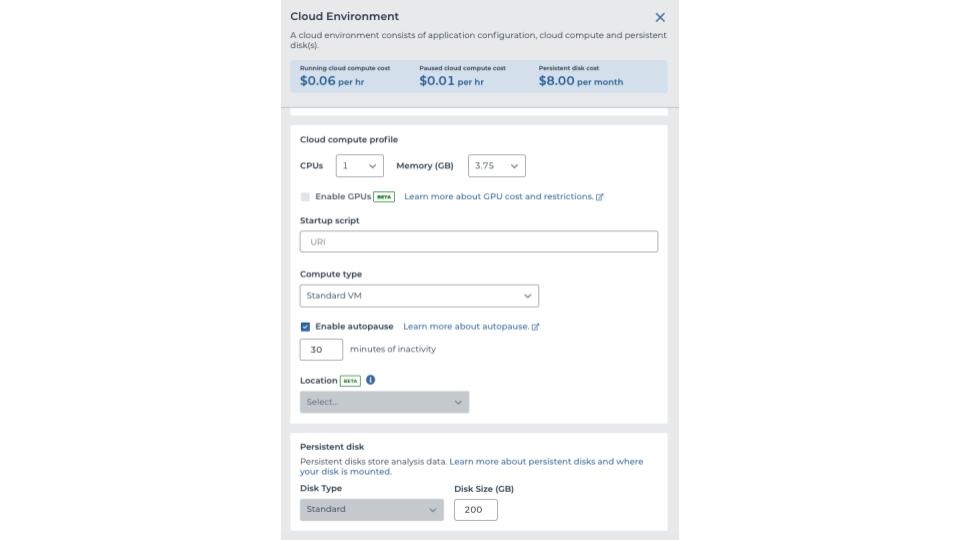
To get started, you will need to submit a project idea to GP2 for review. Once you are approved, your institution will set up a billing project and workspace or GP2 will set one up for you on your behalf. After the workspace is set up, you can start by making a new notebook for your analysis. To run a notebook, you will need to create a cloud environment. You can customize your cloud environment to suit your needs, but if you are planning on using all the currently available imputed complex disease GP2 data, make sure to request at least 100 GB of persistent disk space so you have rough room to work with the 82 GB of data, as of release 2.0. You can always play around with the options to find what works best, but keep in mind that more resources are associated with higher costs.
Cloud Environment Example
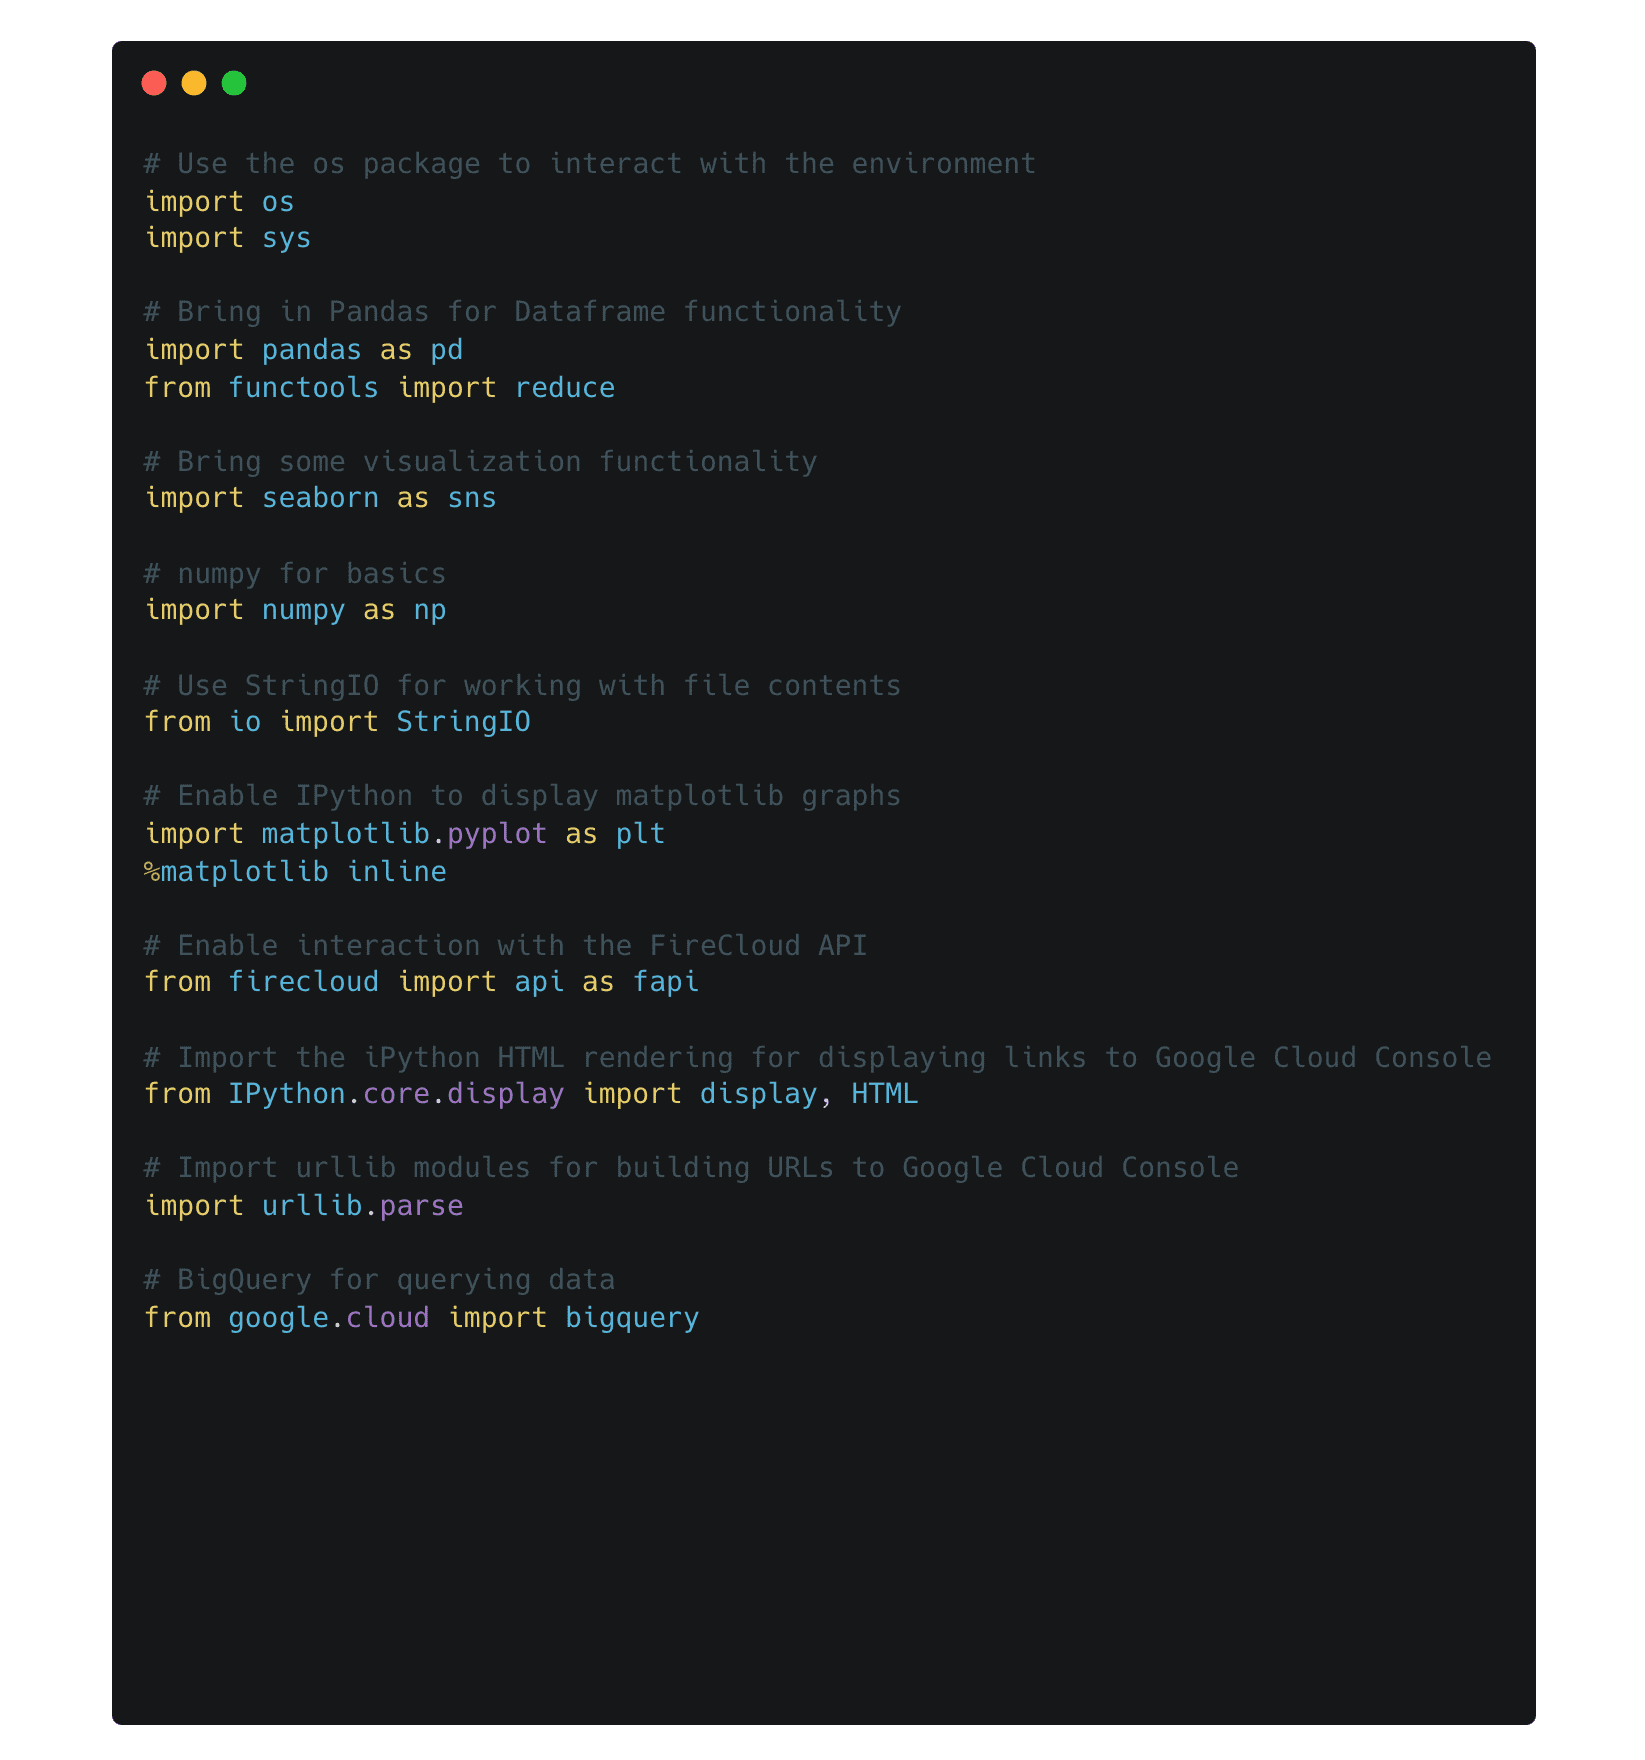
Once you have your cloud environment running and a new notebook set up, you are ready to begin your analysis. To set up your notebook, you may want to take advantage of some useful packages and variables provided below and on the GP2 official workspaces.
Useful Packages
Environment Setup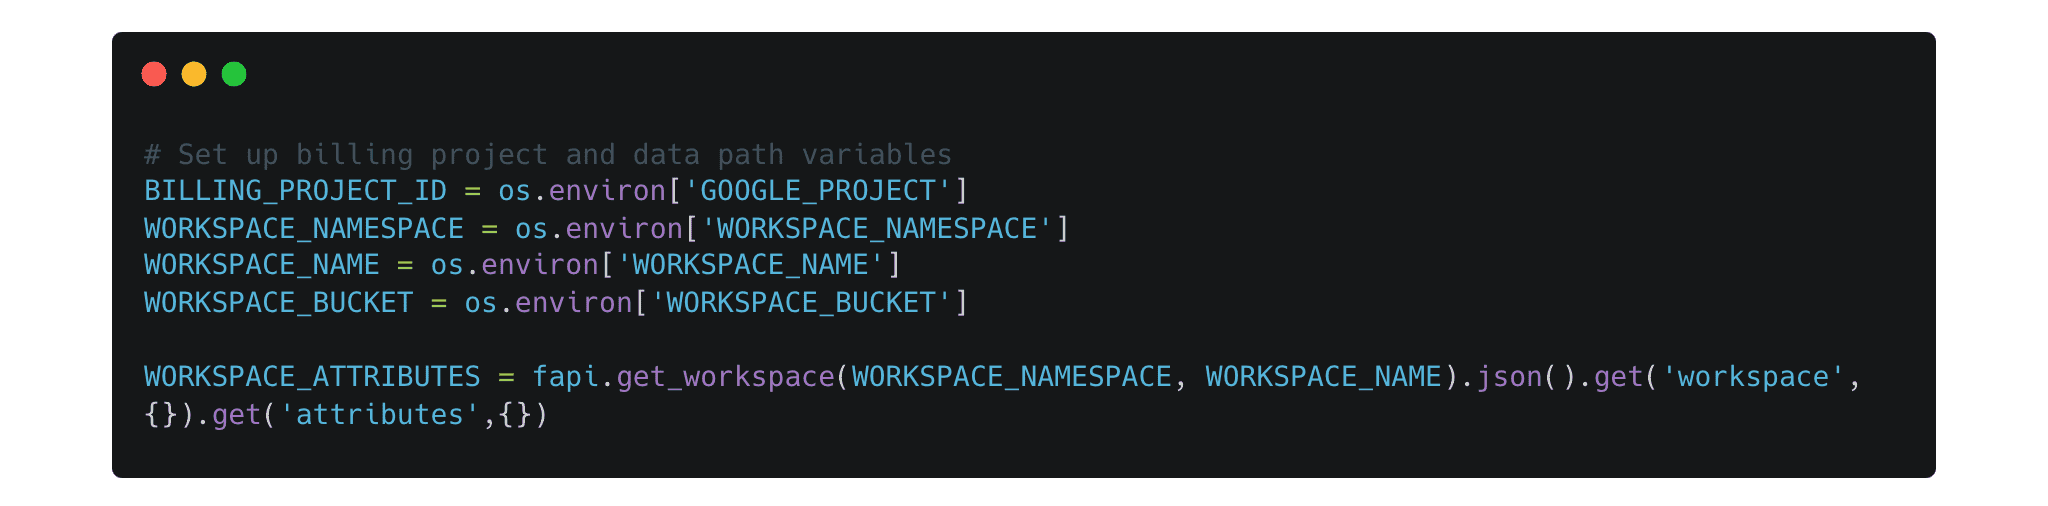
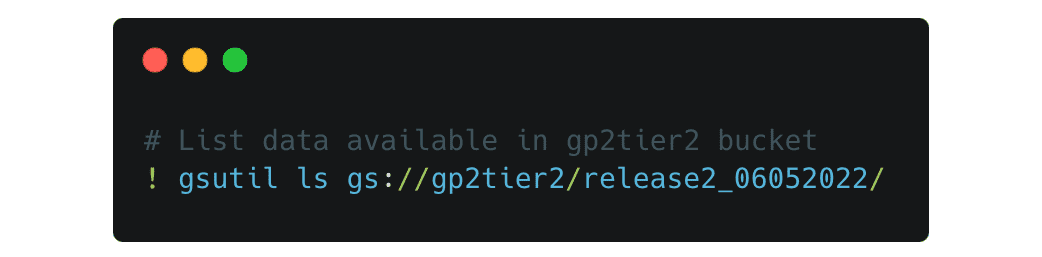
To look at the data available and move data over from the cloud to your workspace, you will use the gsutil tool set. For example, to list the data available in the gp2tier2 bucket you can use a command like this
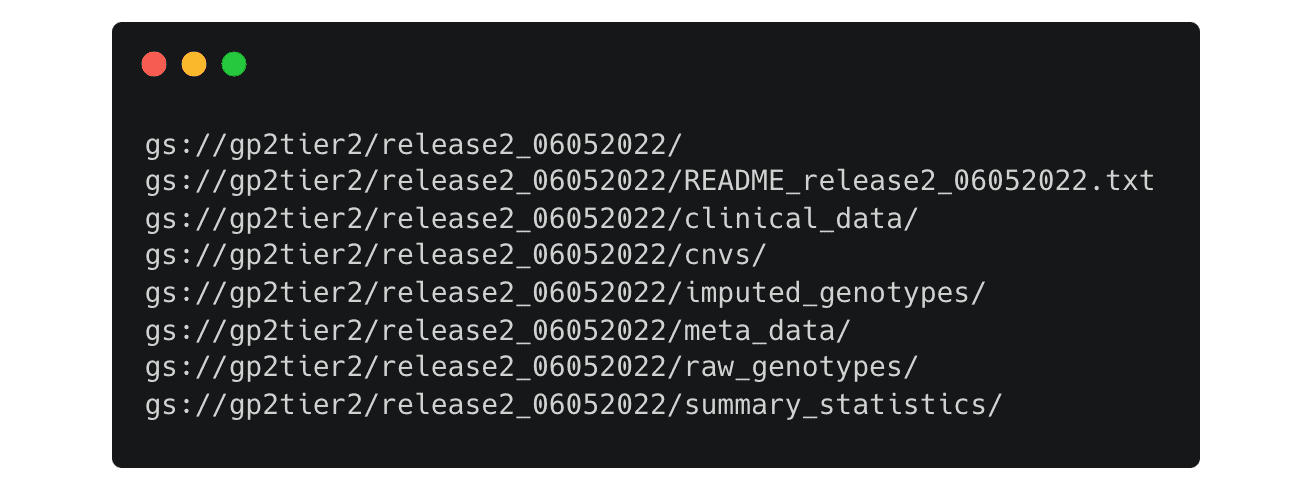
This will list all the available files in the release 2 folder
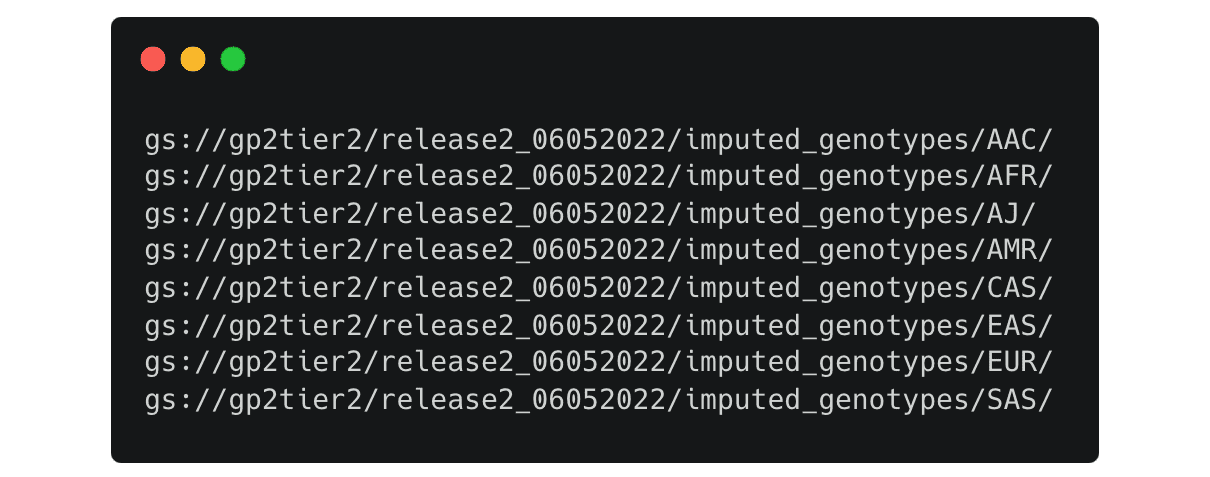
You can change the paths to look into each directory, for example if you change the path to this

It lists the folders for the imputed genotype data separated by predicted ancestry
Once you have decided on the files you need, you can copy them to your workspace like this:
First, make a directory to copy the files in.

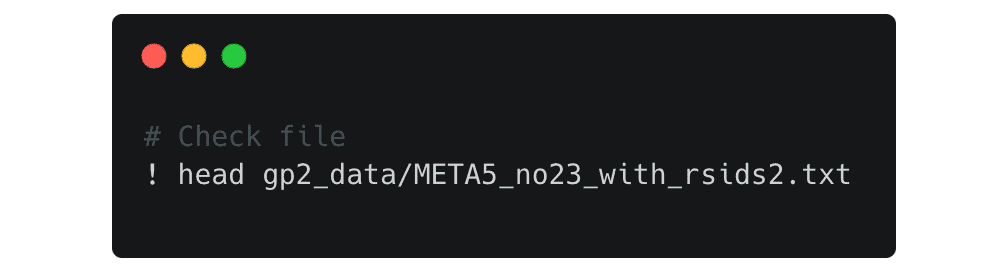
Then copy them into your new directory. In this example, we are copying over PD summary statistics from Nalls et al. 2019 without 23andMe data.

Check to make sure that everything was copied over correctly by taking a look at the file:
Now your data is ready to be analyzed!
This was a short example of how to use workspaces and notebooks with GP2 data, for a more in-depth Terra tutorial, please see the GP2 Learning Management System and complete ‘Course 1: Using Terra to Access Data and Perform Analyses’.